Using the Management Portal
The Web Security Service provides four types management portal based on the administrator who logs in:
- Customer Management Portal
- Distributor Management Portal
- Partner Management Portal
- Super Admin Management Portal
The portal type, company name, and administrator login display on the upper right of each portal.
Using the Management Portal Tabs
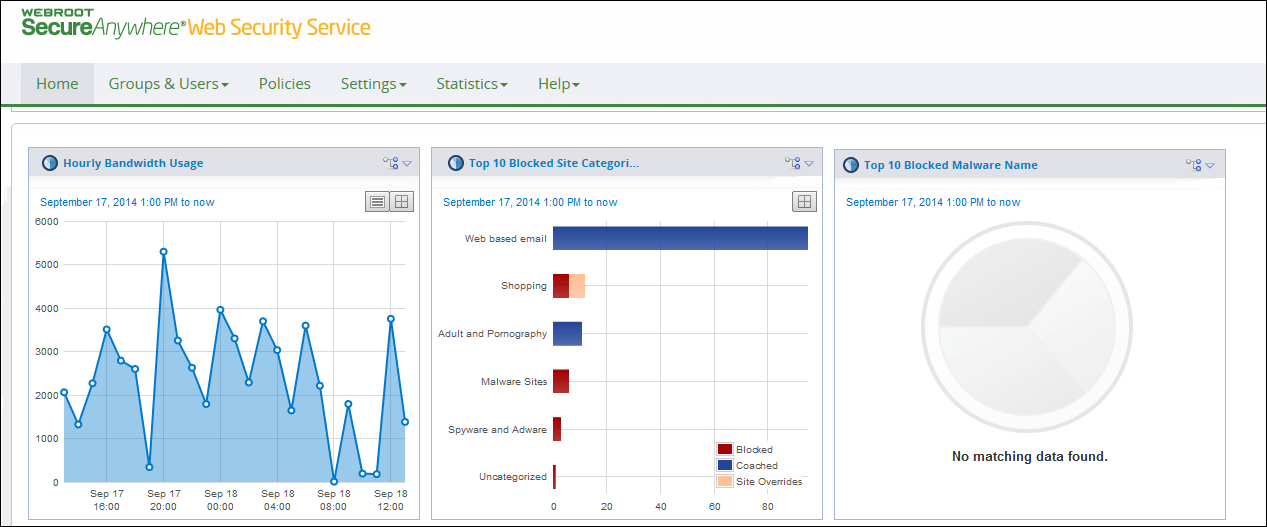
The following example shows a Customer Admin's Management Portal with the Home tab selected.

The following table describes the Management Portal tabs.
| TAB |
DESCRIPTION |
| Home |
Starting page of the Management Portal. Provides charts of the account's most recent activities. |
| Groups & Users |
Enables Customer Admins to:
- Apply policies to groups and to manage the group's users.
- Manage users and assign them to groups.
|
| Policies |
Enables Customer Admins to manage policies that govern web traffic. |
| Settings |
Enables Customer Admins to view and manage their own account information. |
| Statistics |
- Charts - Displays captured data in predefined reports. Includes options for data points and chart types. For more information, see About Reports.
- Logs - Displays up-to-date web traffic information on:allowed traffic, blocked traffic, blocked file types, blocked malware, full audits, current quotas, quota history, logs written to files. For more information, see About Logs.
- Activity Monitors - Captures Customer Admin activities. Also supports port monitoring if you are using the Desktop Web Proxy. For more information, see Monitoring Administrator Activity.
- Zombies - Displays information about malware that might have infected your network. For more information see, Real-Time Botnet Detection.
|
| Help |
- URL Category Lookup - Provides a query for determining Webroot's classification and analysis of a particular website. Results show the risk status and potential impact on your network. For more information, see Determining URL Classifications.
- Documents - Provides access to WSS-related documentation.
- Downloads - Provides downloads for the DWP client, configuration files to be used as templates, and links to documentation, such as the online help. For more information, see Accessing Configuration Files and Guides.
- FAQ - Provides access to release notes, user guides, trials, and tutorials, and other information to help you use the WSS product.
- Contact Us - Provides access where admins can create tickets or contact support directly.
|
| Email Drop-Down Menu |
- View Profile - Enables admins to view their own profiles.
- Edit Profile - Enables admins to edit their own profiles.
- Change Password - Enables admins to change their own password.
- Administrators - Enables the addition of peer administrators within the organization. Contains a search panel and list grid.
- Startup Guide - Displays the WSS Welcome window, which displays when you first log in and before you've set up WSS for your organization.
- Logout - Enables the administrator to end the current session.
|
| Switch Back |
A button on the menu bar. Available only to authorized Partner Admins and Super Admins who have accessed a customer's portal. Enables returning to the Partner or Super Admin Management Portal. |
These general instructions are common to most tabs in the Management Portal.
To add an item:
- Open an applicable tab such as Admins, and click Add. If the Add page contains subtabs, the first subtab opens by default.
- Type your entries.
An arrow icon identifies required entries.
- Select other subtabs and type any required entries
- Click Save.
To edit an item on a list:
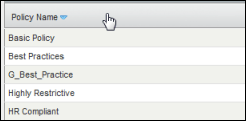
- Locate the item to edit and sort the list by clicking any header, except Actions.
If the Edit link is available under the Actions column corresponding to the item, you can edit that item. If only View is available, you can only view the information.
If you click View, the page might include an Edit button if you have permission, and in some cases a Delete button if you have permission and there are no other dependencies.
- Click the Edit link and edit as required.
- Click Save.
If you select any tab before clicking Save, you will lose your changes.
To cancel your entries:
While adding or editing an item, you can cancel by selecting any tab to refresh the page.
To delete an item from the list:
- Locate the item to delete.
- Under the Actions column, click the item's corresponding Delete link.
If the link is not present, deletion is not allowed for that item.
- Click Yes to confirm.
To exclude or include columns:
- Position your mouse pointer at the right of any column header.
A drop-down arrow appears in the header.
- Click the arrow to open a drop-down list of the column names:

- Select or deselect column names to adjust the list.
To sort the list items:
- Position your cursor on the column header on the grid.

- Click once.
The list sorts in descending order, as indicated by the directional arrow that appears on the spot where you clicked.
- Click again.
The list sorts in ascending order, as indicated by the directional arrow that appears on the spot where you clicked.


